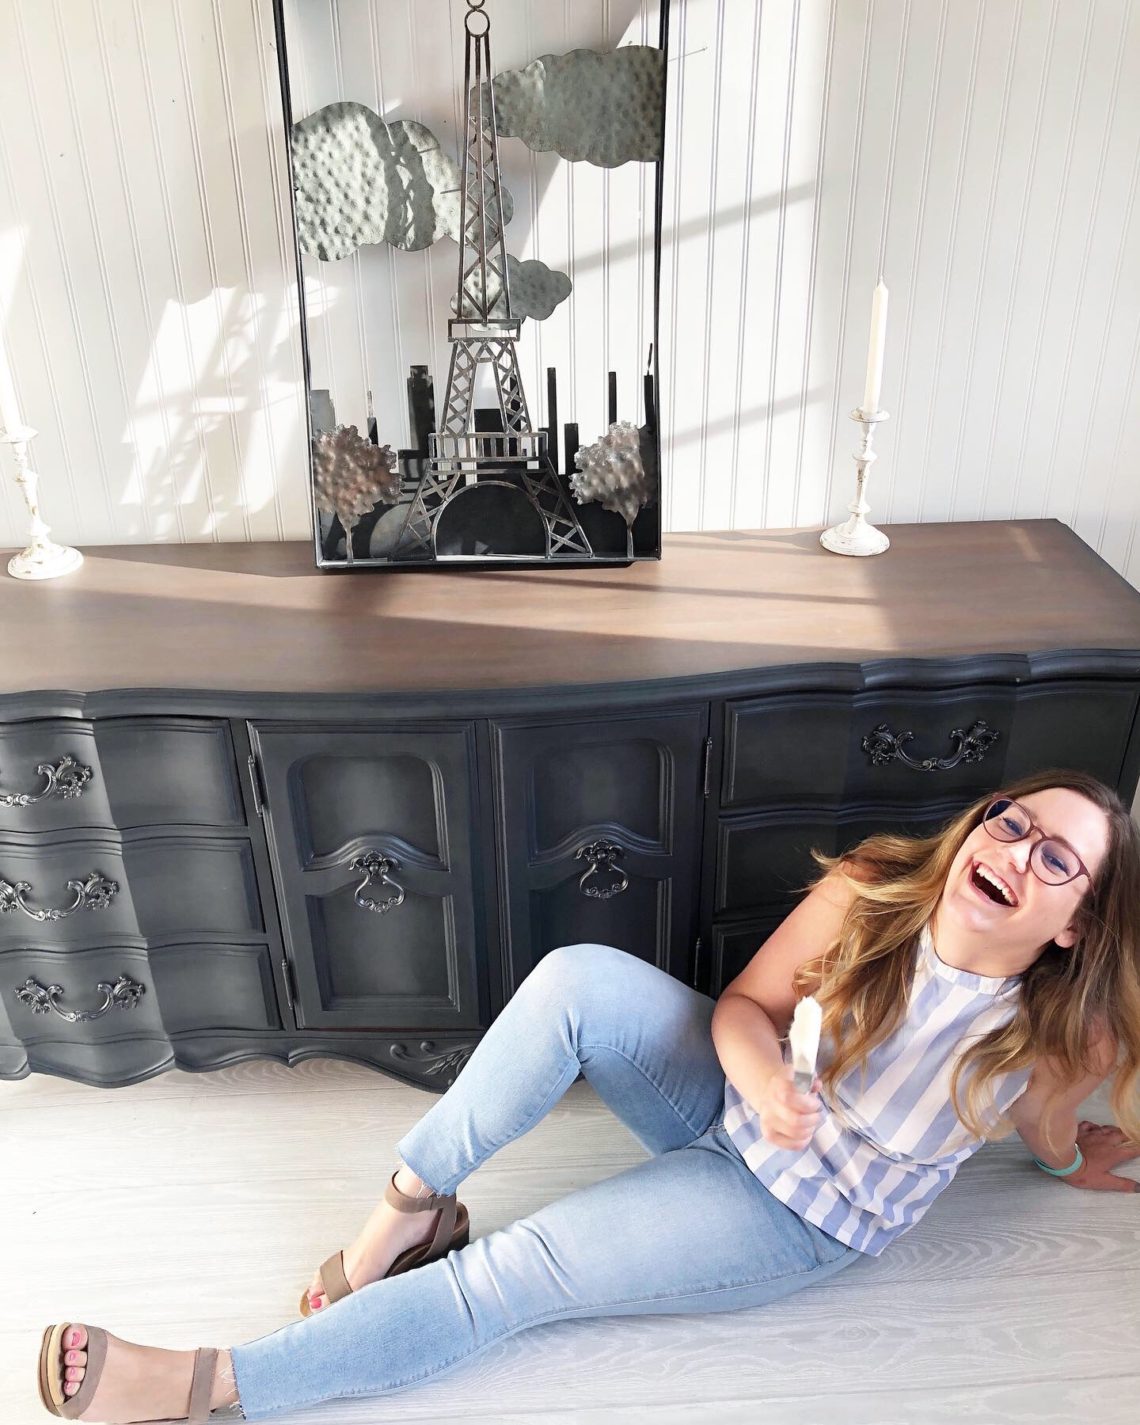
This french provincial triple dresser brings the drama
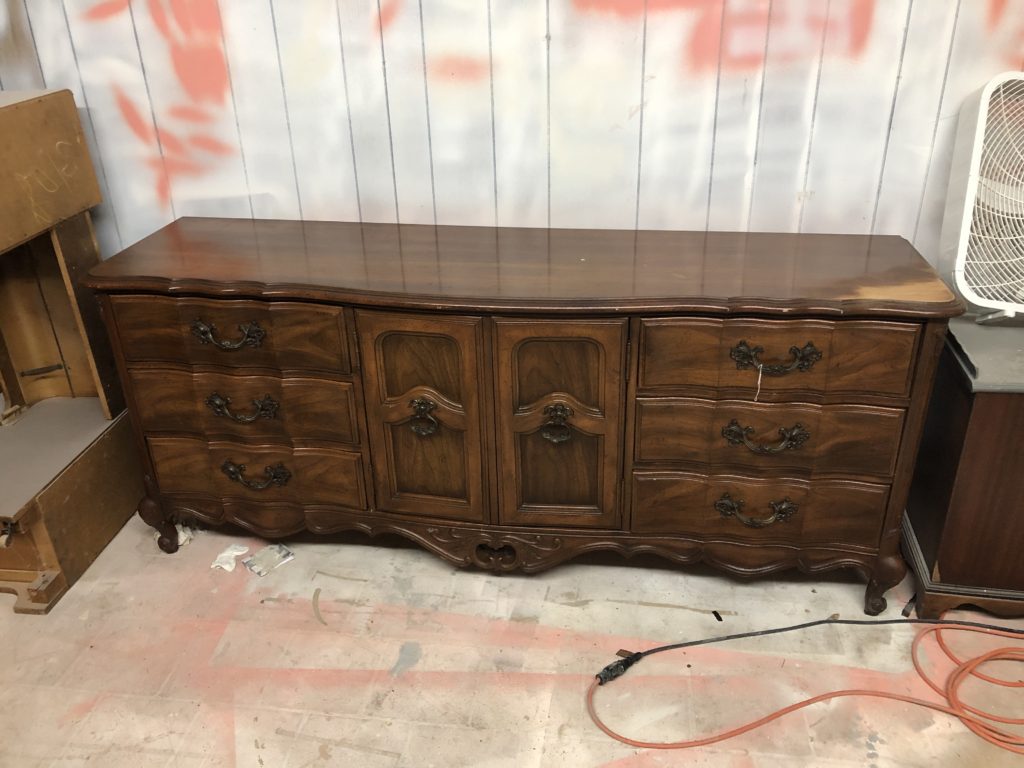
When I spotted this dresser at my local shop, I knew it would be the PERFECT fit for my clients bedroom. They love the french provincial style but needed extra storage. They were looking for a buffet but not quite sure what they wanted until they found it. So when I saw this triple dresser, I had a feeling this was what they were looking for!
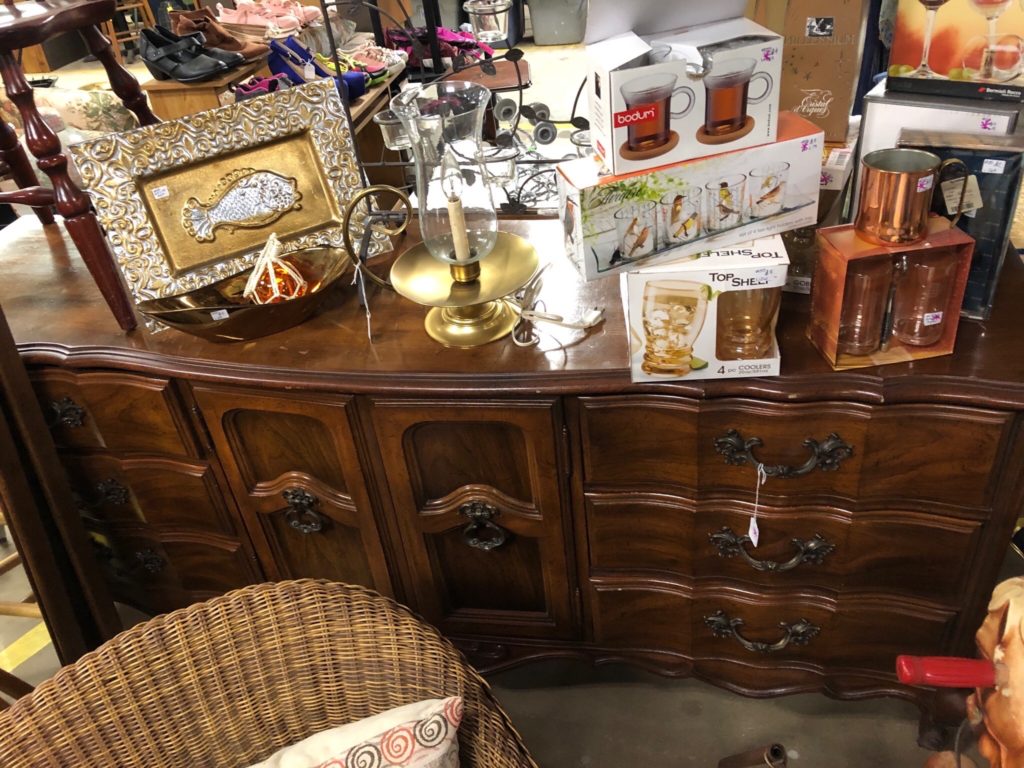
I love finding diamonds in the rough like this ❤️
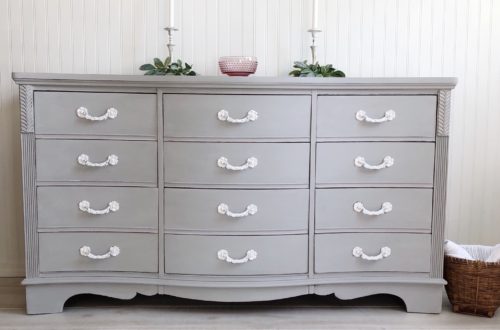
For the refinish, they had a style in mind, they wanted it to match a lighter gray french provincial they purchased from me a few months prior but they wanted to do a darker contrasting shade.
Here is what we were matching it to.
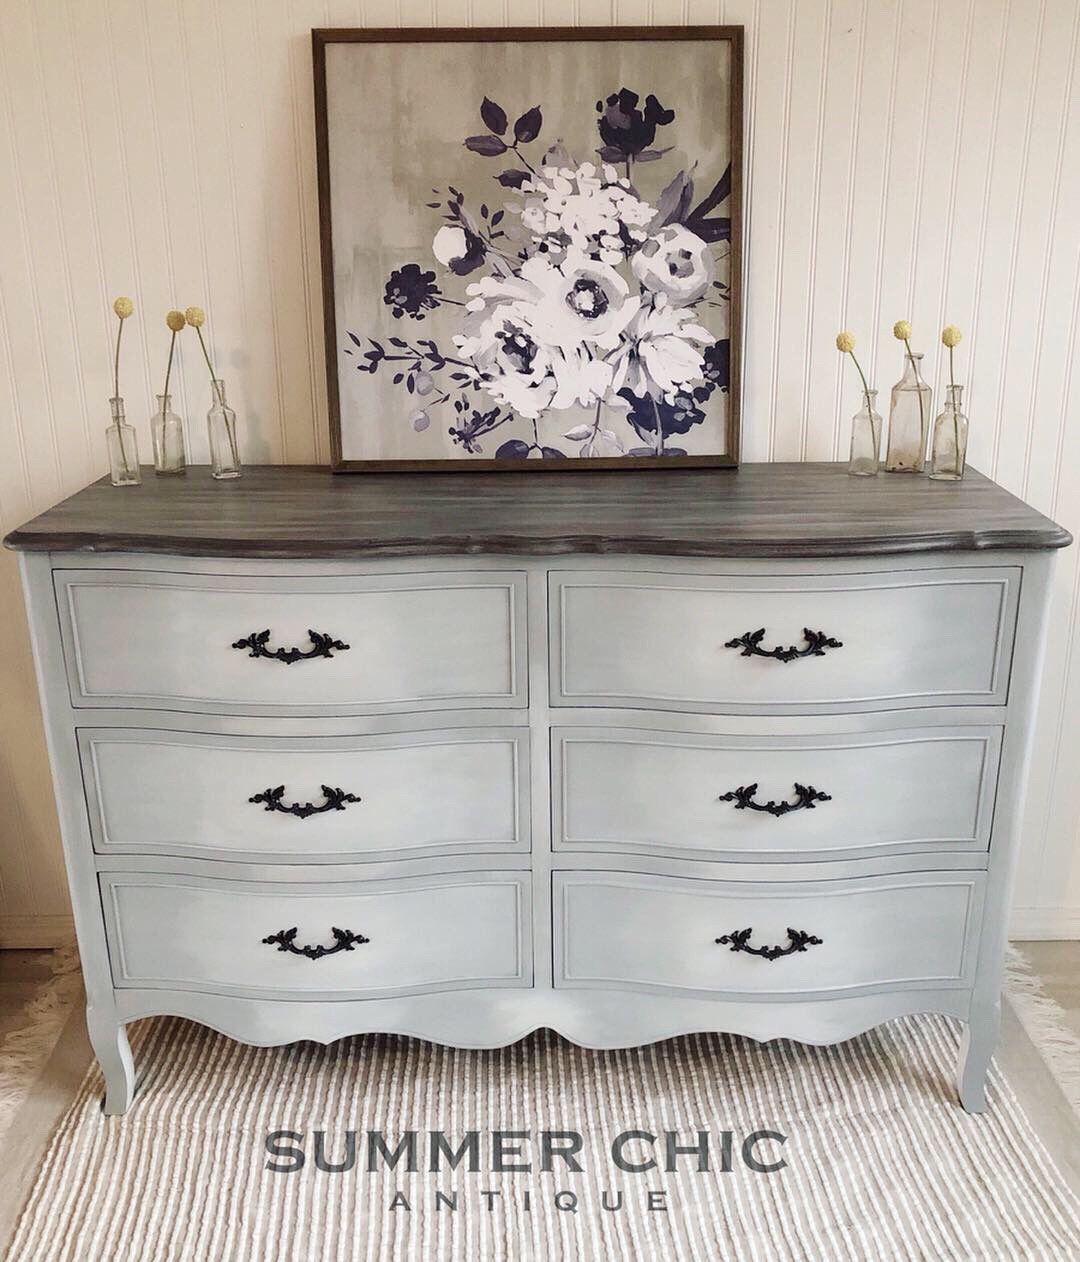
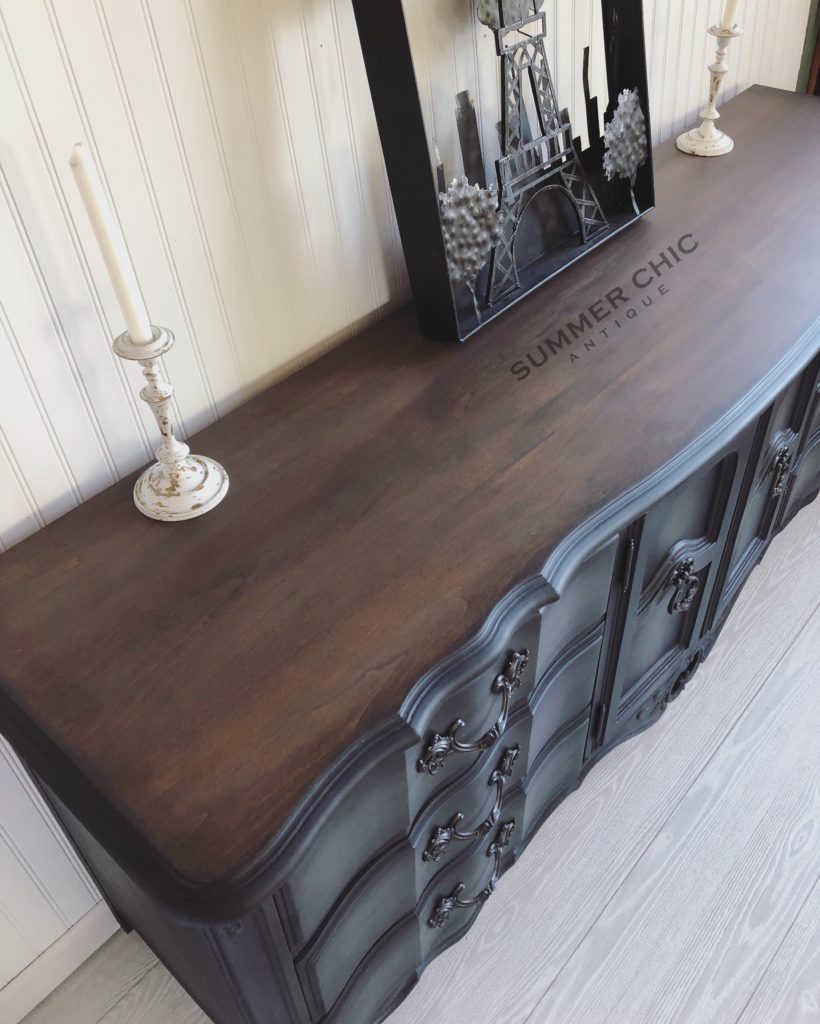
I talked to them about a dark gray but with a faded, soft appearance and they were on board! We also thought it would be best to keep the top but darken it up a bit.
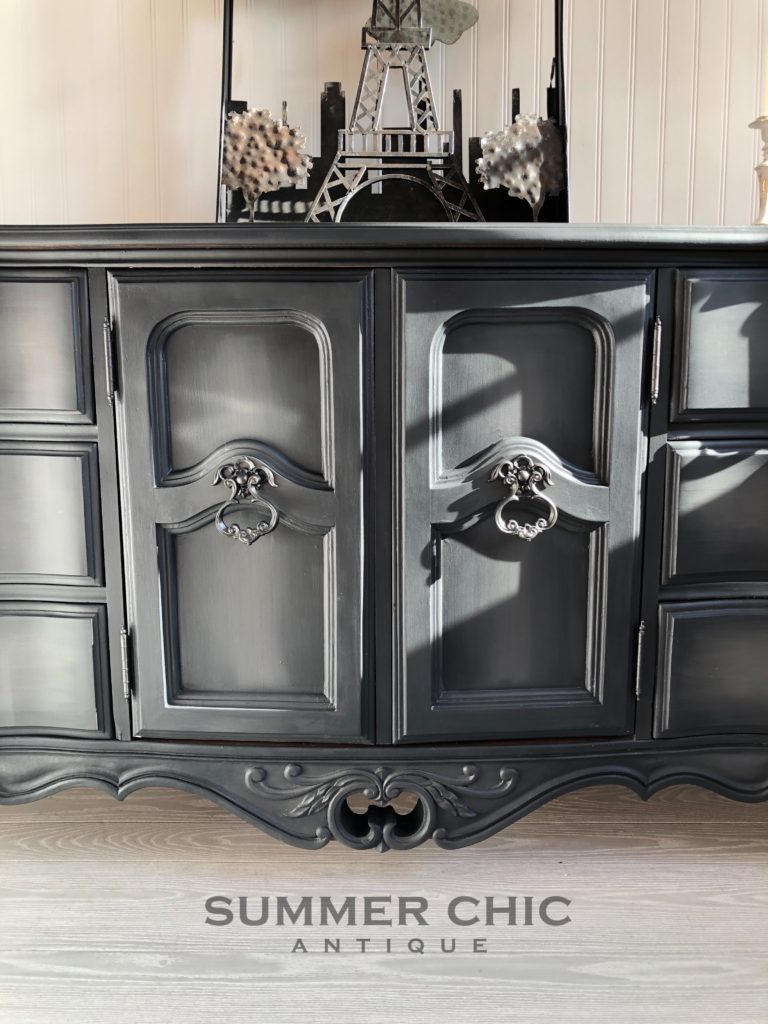
To start, I applied Citristrip to strip the top. The wood was in great condition but to my horror, the trim was plastic. Matter of fact the bottom trim and door trim was also plastic. To combat this, I tried Bins 1-2-3 primer, it didn’t work. I had to strip with Citristrip and tried Dixie Belle Slick Stick and it passed my finger nail scratch test like a charm!
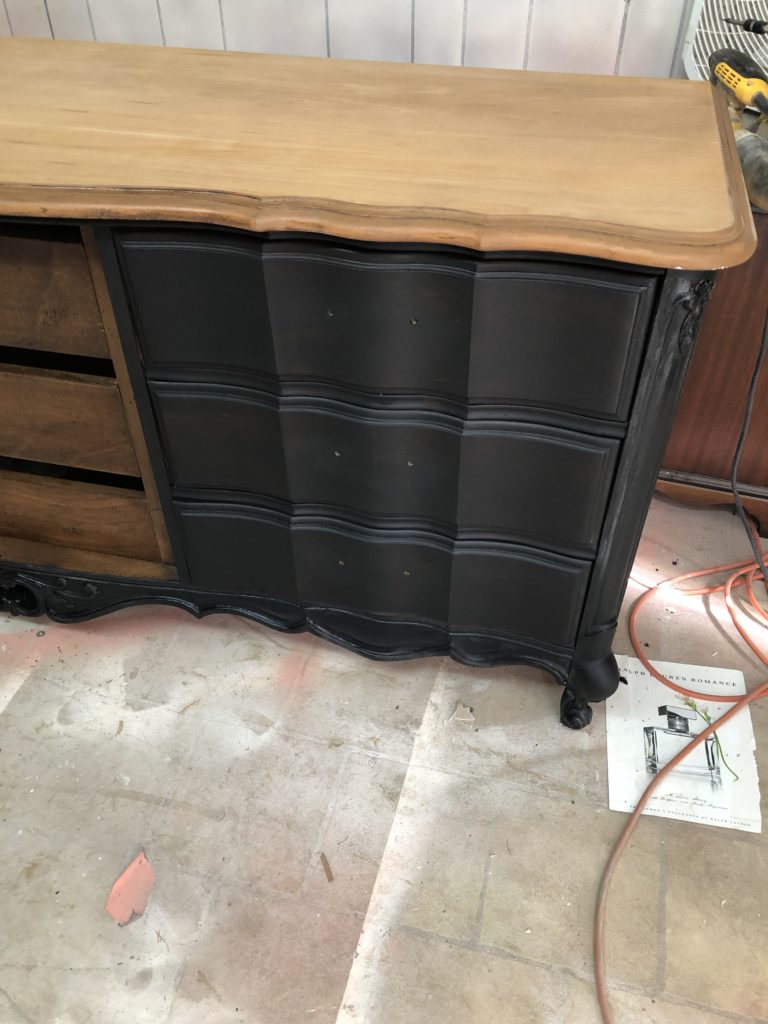
Next I lightly sanded the body with 220 grit sandpaper and sanded my newly stripped top to get it nice and smooth. After sanding the top with 220 grit, I used a higher (smoother) grit of 400 to insure there were no sanding swirls.
I then cleaned the dust off the body with with tsp as well as in the drawers. A Tack cloth is enough for the top. You don’t want to apply chemicals to raw wood.
It’s so funny the things you find in old furniture. I once found $20 in an old birthday card, that was exciting!


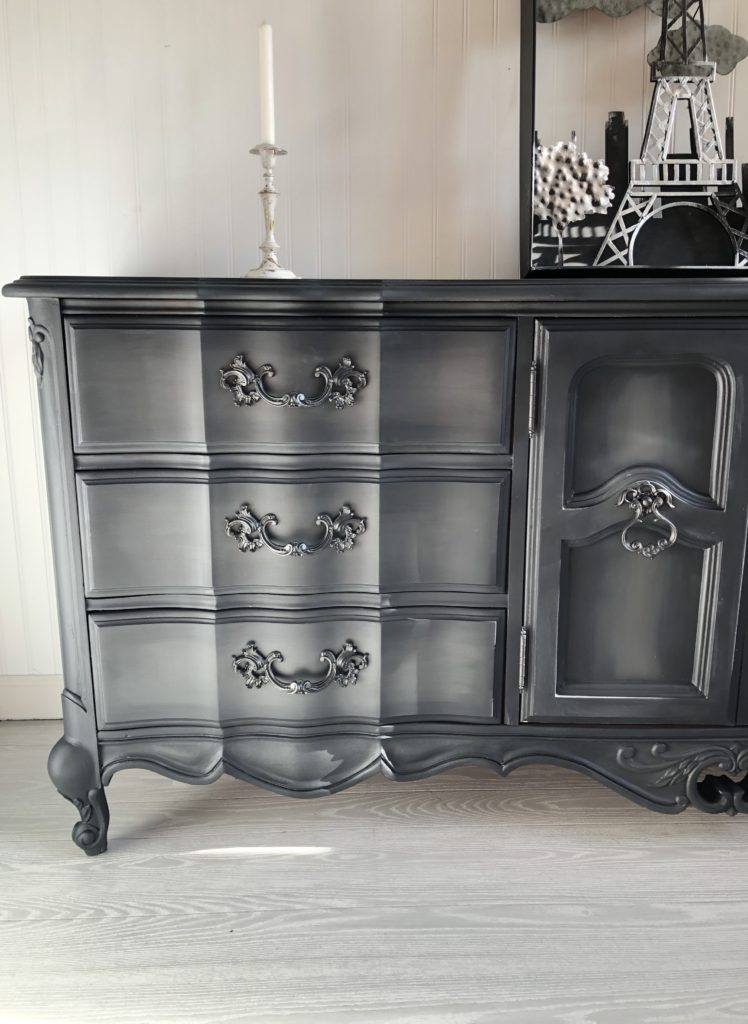
Now I was ready to paint! To start I did one coat of Dixie Belle Caviar. After it dried I applied Dixie Belle Midnight Sky to the whole drawer, Gravel Road in the center and Caviar to the very edges and blended the colors together.i did this on all areas of the dresser.
The tricky part was applying gravel road and midnight sky to the trim of the top. I wanted to achieve the appearance of the trim gradually failing into stained wood.
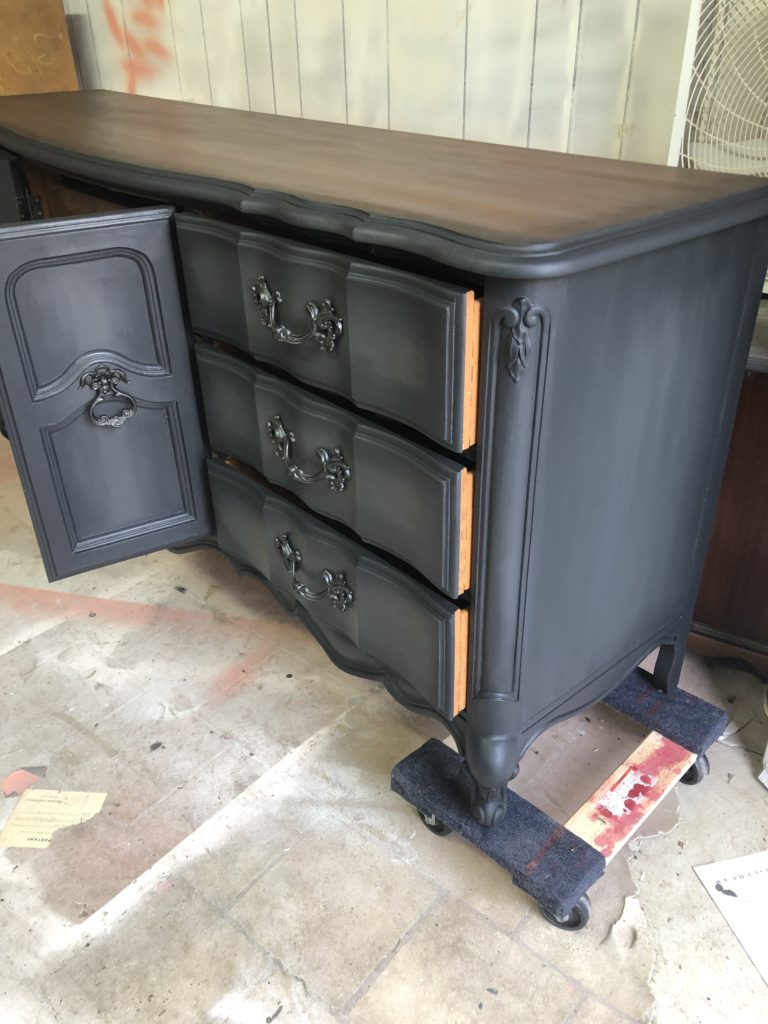
I used black, gray and brown wax to achieve the color I wanted on the top. This also gave me a protective barrier for the wood so that the wood would not absorb the paint. I applied the wax with the wood grain and buffed them out with a clean cloth. Then, I painted the trim with midnight sky and added a touch of caviar and gravel road to accent the points. I let a little of the midnight sky overlap onto the wax top and lightly buffed it to slowly blend the two at the edge of the top. This made for tedious work but a seamless transition.
While the paint dried, I soaked the hardware in warm soap and vinegar water, rinsed thoroughly and allowed to dry. I then laid the hardware out and sprayed with oil rubbed bronze rustoleum paint.
I then sealed the body with this top coat. Once dried, I reattached the hardware and put the drawers back in. With French provincial dressers you should number the drawers because they don’t fit into just any spot. Also, when painting and using a lot of water (misting) the drawers tend to expand. Once they dry out completely, it will go back to normal size and fit like a charm.
For the top of the dresser I used my go to for sealing wax. It bonds to the slick wax and provides a clear and durable top coat. I LOVE this stuff. I typically buy 3-6 cans at a time. Always great to have in hand. Also, if a piece I’m doing is going to a home with kids or animals, I spray this before the top coat to give a super durable finish. I apply a top coat on top because it doesn’t always come out super even, and brushing on the top coat provides a smooth, even finish.
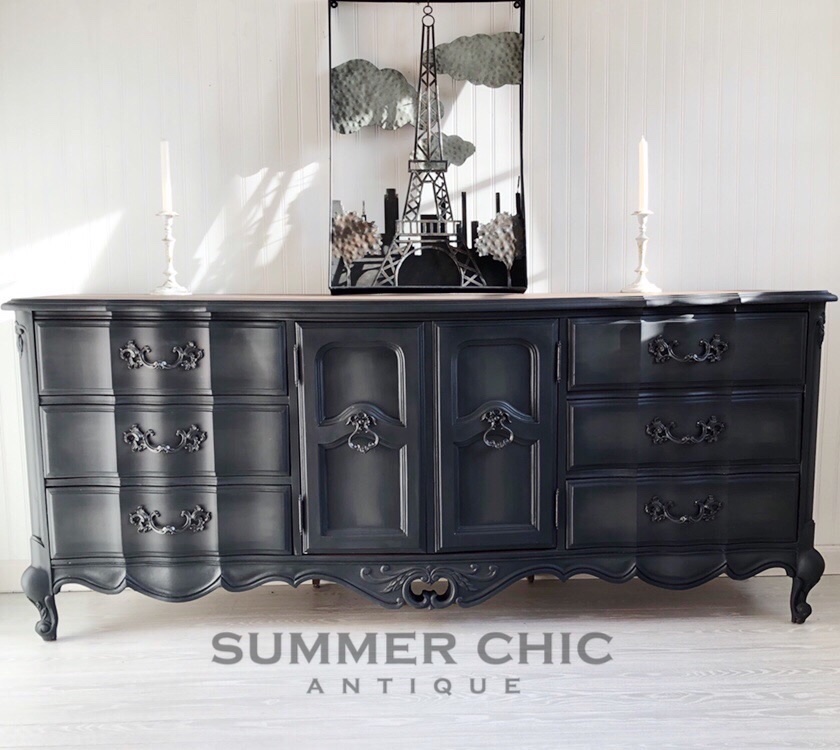
This dresser has to be one of my top favorites! I love that it’s dark but with dimension and so romantic. Let me know if you plan to try this out!